Fabric Panel Installation Guide
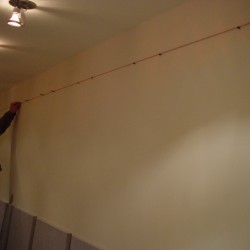
Step 1 – String Level Guide
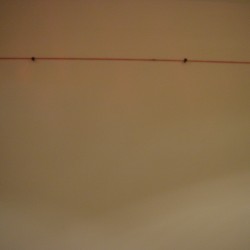
Step 2 – Installed Screws For Panel Mounting
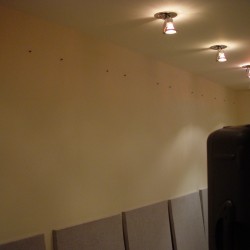
Step 3 – Remove String, Screws In Place
Step 4 – Clear Silicone Adhesive Applied To Back of Panel
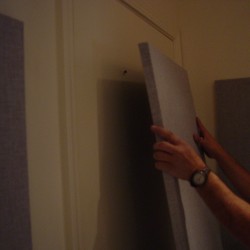
Step 5 – Rigid Edge of Panel Lined Up On Screws, Placed On Wall
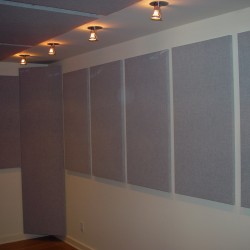
Step 6 – Installation Complete
Materials Needed: Clear Silicone Caulking, 1 1/2” #10 Drywall Screws, 2”Finish Nails.
Tools Needed: Tape Measure, Hammer, Level, String, Caulk Gun, Philips Screwdriver, Pencil.
1. Using a tape measure, mark the wall 1 1/8” below the top line of the panel.
2. Pull string along wall at marks.
3. Screw in drywall screws ( 1 per foot of panel) – The head of the screw should sit a 1⁄4” off the wall.
4. Place panels on screws, check alignment and appearance. Then remove panels.
5. Apply silicone caulking to back of panel.
6. Press panel against the wall with the top aluminum edging slightly above the drywall screws. When it is flush with the wall pull it down gently until the screws grab the aluminum edging. The panel should now be in place. Check level as needed.
7. Put finish nails in on a slight angle through the face of the panel. These should be hammered gently through the fabric so they disappear behind the fabric. Use as many nails as necessary to insure the panel is flush to the wall.


