Putty Pad Installation Instructions
Preparation:
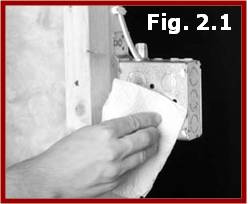
1. Remove any water, excess dirt or oil from application. Surface shall be free of dirt, grease, oil, rust, release agents, water repellents, and any other substances that may affect proper adhesion. (Fig. 2.1)
2. All wiring shall be completed before installation of Sealtight Putty Pad.
Installation:
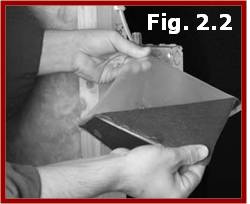

3. Remove the poly liner from one side of the putty pad. (Fig 2.2)
2. All wiring shall be completed before installation of Sealtight Putty Pad.
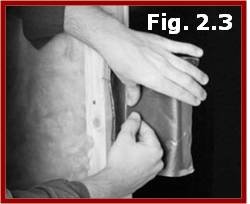
4. Line the pad up with one side of the box and fold over onto all surfaces of the electrical box (top, bottom and sides) ensuring that the penetration is overlapped with the pad. (Fig 2.3)
5. Overlap the box edges with the pad. When the wallboard is installed against the outlet box a tight seal will be created.
6. Remove the remaining poly liner and work the putty into a smooth, even thoickness.
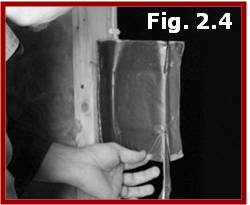
7. Make sure the entire surface of unit is covered. To ensure a proper fit around the conduit and cables, cut slits in the pad where appropriate. (Fig 2.4)
8. Trim excess at the corners and apply to conduit fittings.
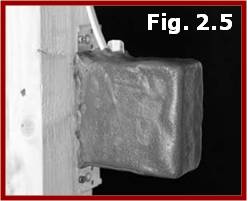
9. To seal the conduits where they enter the outlet box, work the Sealtight Putty Pad into a ball to securely cover area. (Fig 2.5)
10.If Sealtight Putty Pads have become wet before being installed, they should be discarded.


